Harley Carburetor Float Setting
The float level on a Harley CV carburetor (1992-2006) is adjusted by gently bending the metal tab that extends from the float and presses on the float needle plunger. While measuring the float position (below) is the most accurate method, it is also possible to "eye-ball" this for a very rough setting by making sure the line on the side of the float is exactly parallel to the bottom edge of the carburetor body when tilted as in diagram B. However measuring and following the setting recommendation found in your factory service manual is the preferred setting. Note the these settings apply to the 1992-2006 version float. The 1989-1991 Float found in early Harley carburetors is different and utilizes a unique setting, please refer to the settings found in the earlier service manuals for those model years. *
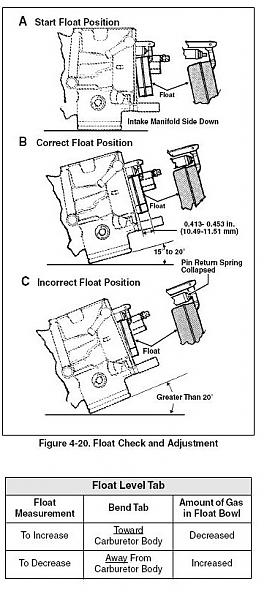
Should fuel continue to flow or flood the carburetor after adjustment, replacement of the float needle valve is required. Please refer to your factory service manual for instructions on removal and installation of your Harley carburetor and removal of the float pin.
* The above instructions are provided for informational purposes only. Refer to your factory service manual for specific instructions and settings. We are not responsible for incorrect adjustments or breaking the pin arms due to mishandling. Late model CV carburetors require the float pin to be driven out with a punch. Removal of the pin is in the direction of the arrow - the directional arrow is cast into the carburetor body near the float pin arm.
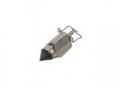
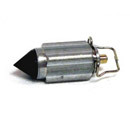
Replacement Float Valves
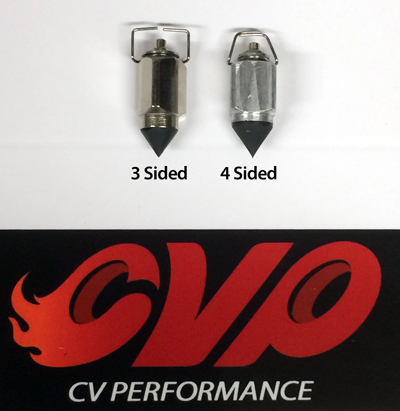
3-Sided Float Valve - 4-Sided Float Valve (Current)
Replacement Float 27576-92 (92-06 only)

Harley Float 27576-92 (92-03 models only)
Harley Float 27576-88 (89-91 models only)
Please verify float type before ordering.
|
Back to Installallaton Instructions page